
What’s in My Camera Bag: BACKCOUNTRY Ski Expeditions
My photography bag essentials for ski expeditions
I’ve been photographing skiing and snowboarding for over a decade, and my camera bag has never stayed the same. Every trip, every expedition, every mistake has shaped what I carry today.
The biggest lesson? Weight matters.
When you’re skinning uphill for hours—sometimes climbing up to 5,000 feet in a day—you feel every single pound on your back. And as a woman in this field, that’s something I’ve had to be especially aware of. I can’t afford to carry a 50 lb pack just to have “options.” Everything I bring has to earn its place.

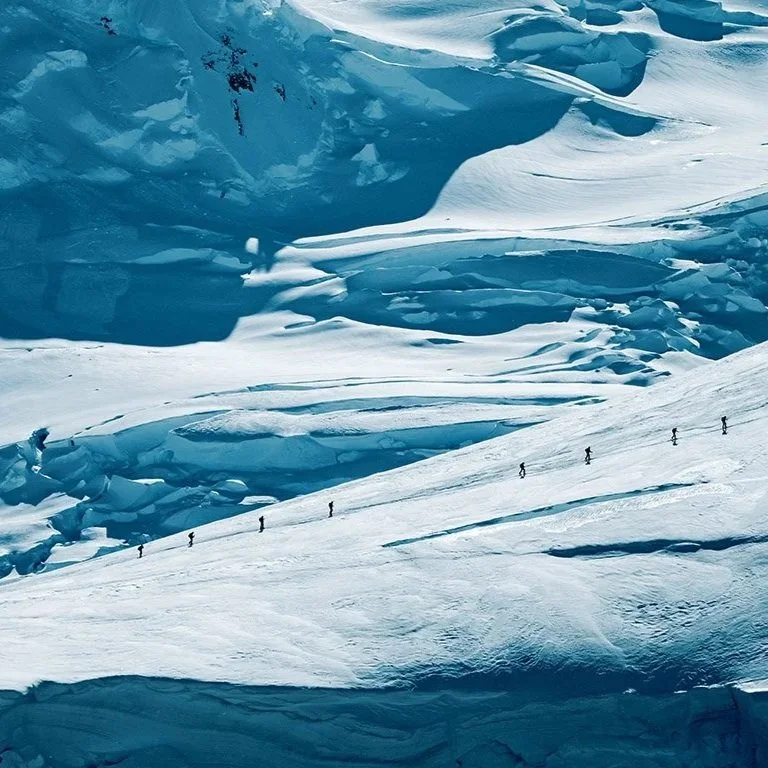
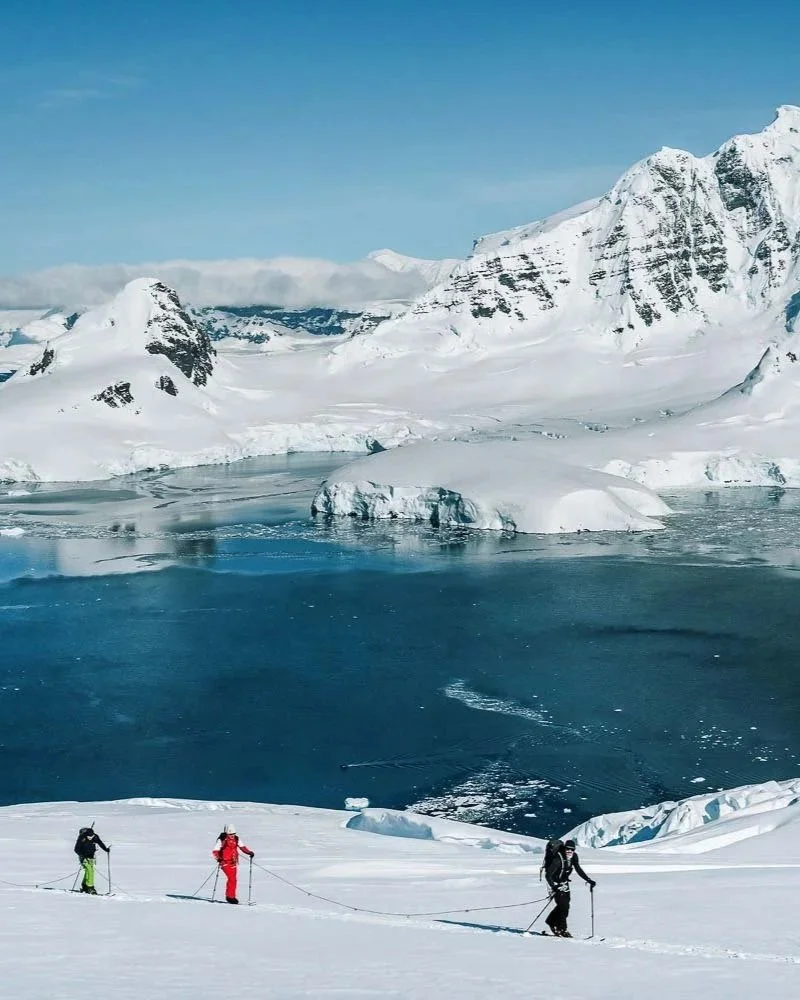
Chris Davenport skiing Antarctica’s powder
Over the years, I’ve learned how to strip my kit down to the essentials—without sacrificing the ability to capture the moments that matter.
The Reality of Shooting on a Ski Expedition
Ski Touring vs Resort Shooting
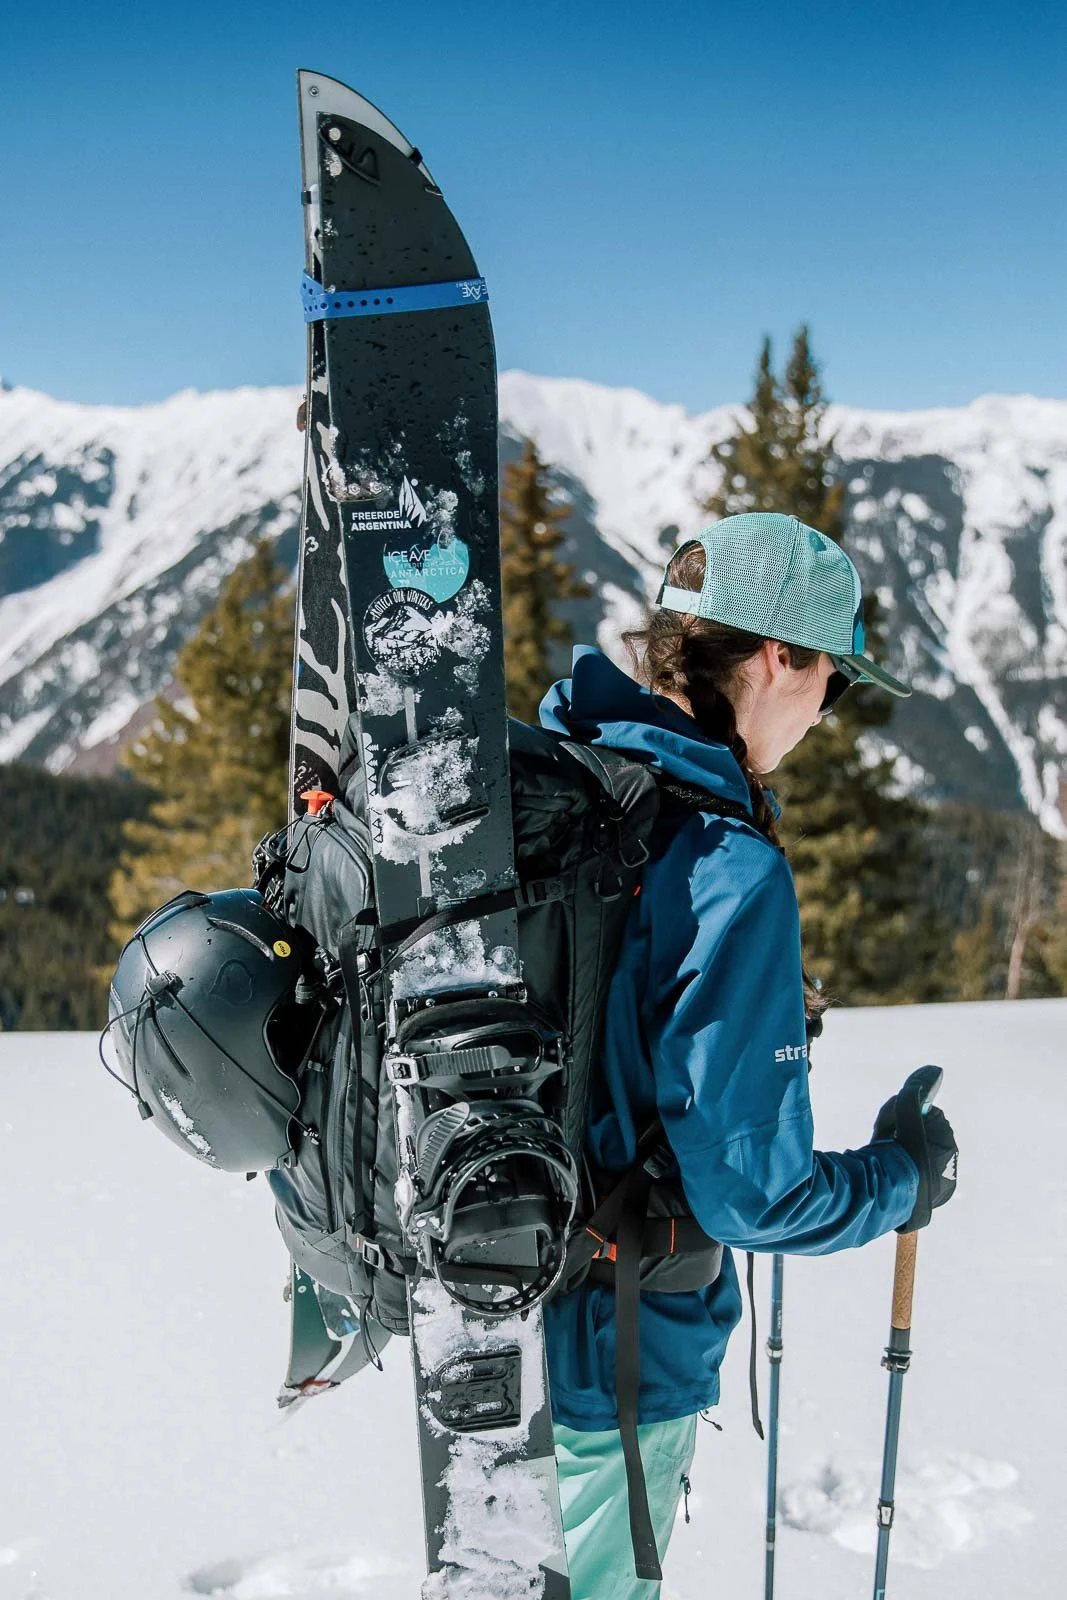
Ski touring is a constant transition—layers on, layers off, gear in and out of your pack. Your backpack isn’t just carrying camera gear, it’s carrying your entire day.
Having a pack with the right compartments matters. I need quick access to essentials like avalanche gear, while still having enough space to stash layers, food, and camera equipment without everything turning into chaos.
Cold Weather Challenges
People assume I’m used to the cold after living in the mountains for so long—but the truth is, I run cold. I’ve just learned how to manage it.
I always carry:
hand warmers
extra layers
battery-powered boot warmers
Batteries are another constant battle. In extreme cold, they drain fast, so I keep extras on my body to stay warm. One important thing to keep in mind—electronics should stay at least 50 cm away from your avalanche beacon.
I’m still experimenting with gloves, but having a system (lightweight for uphill, warmer for downhill) has been key.
Shooting While Moving
This is probably the biggest difference between ski photography and almost any other type of shooting.
People don’t want to stop every five minutes so you can get the shot—especially when you’re on a rope crossing glaciated terrain.
The best solution I’ve found is using a shoulder clip. It allows me to quickly grab my camera, shoot a few frames, and keep moving without slowing the group down.
Safety Comes First
No photo is worth putting yourself—or anyone else—at risk.
Avalanche terrain is real, and as photographers, we still need to make smart decisions. Understanding conditions, carrying the right gear, and knowing when not to shoot is just as important as getting the shot.
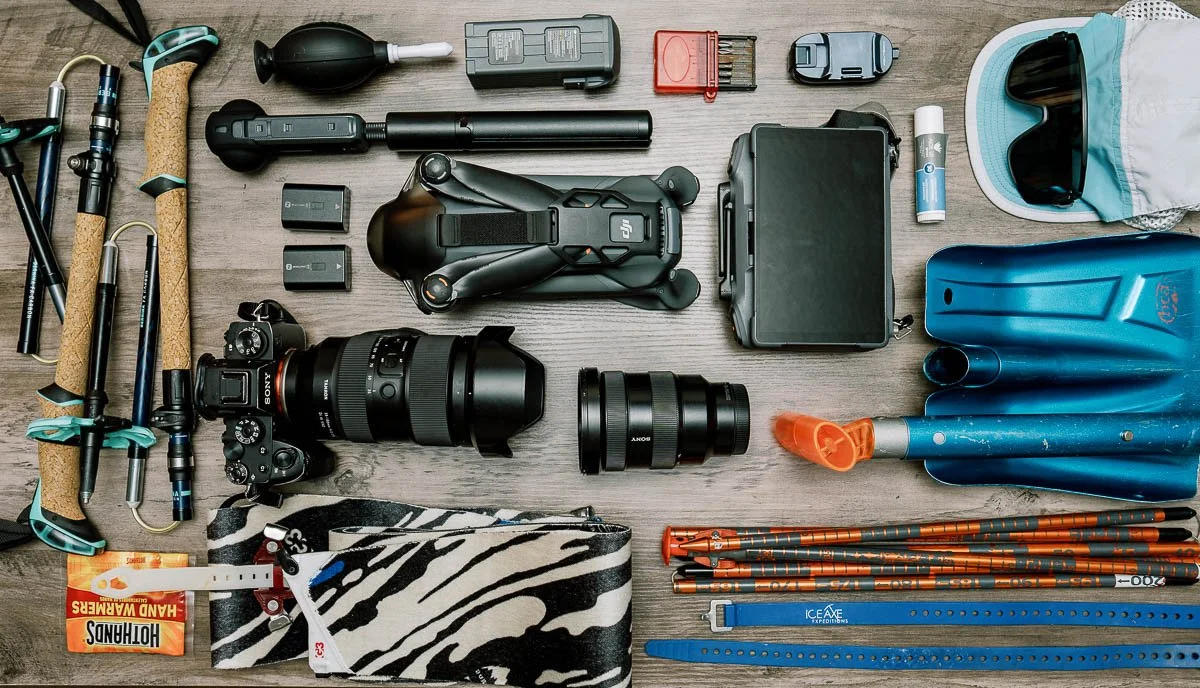
What’s in My Camera Bag
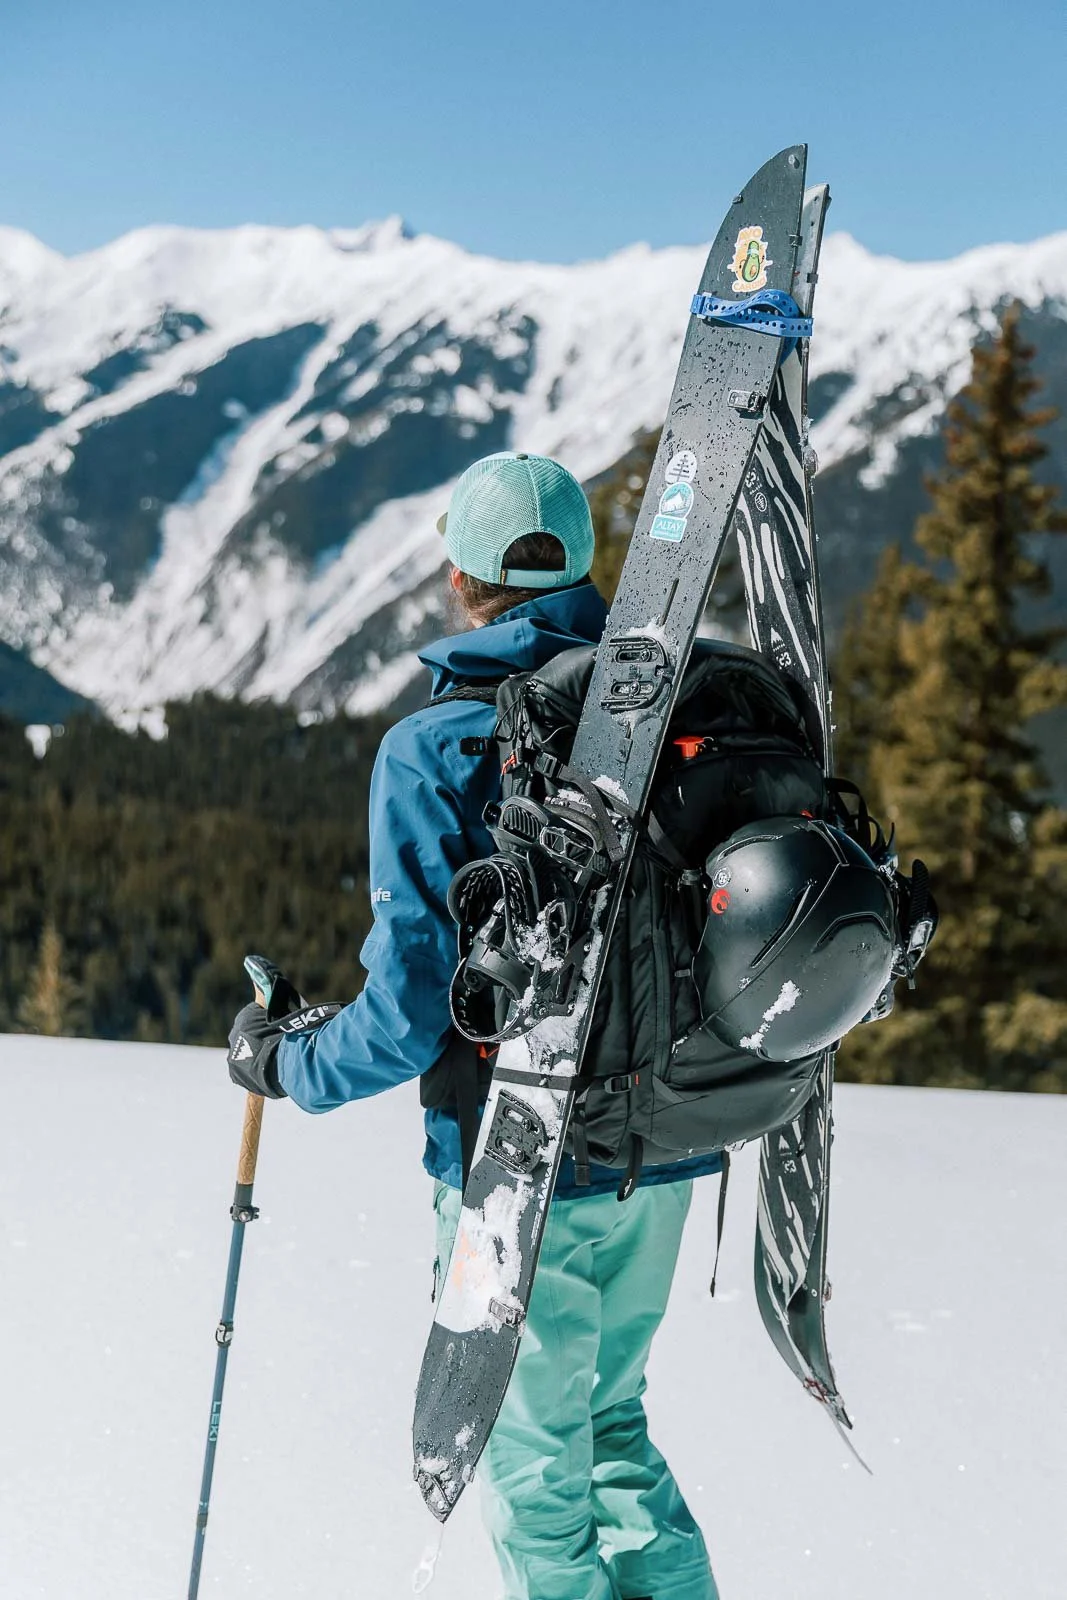
Backpack: PGYTECH OnePro Flex (40L)
This has been the biggest piece of the puzzle for me - I need a backpack that can fit it all.
I use the PGYTECH OnePro Flex Backpack in their 40l size, and what I love most is the balance between comfort and functionality. It has great back support, which matters on long climbs, and the top expands enough to fit extra layers—something I rely on constantly.
It also has:
side ski attachments
a front compartment for shovel and probe (which doubles as a laptop sleeve when traveling)
The downside: it doesn’t come with a snowboard carry system. I’ve worked around that by adding extra straps, which solves the problem pretty easily.
Another important piece of the camera bag is the shoulder clip - I literally don’t go anywhere without one anymore. I use PGYTECH Beetle camera clip
Get 10% off your purchase from PGYTECH with a code TAMARAPGY10
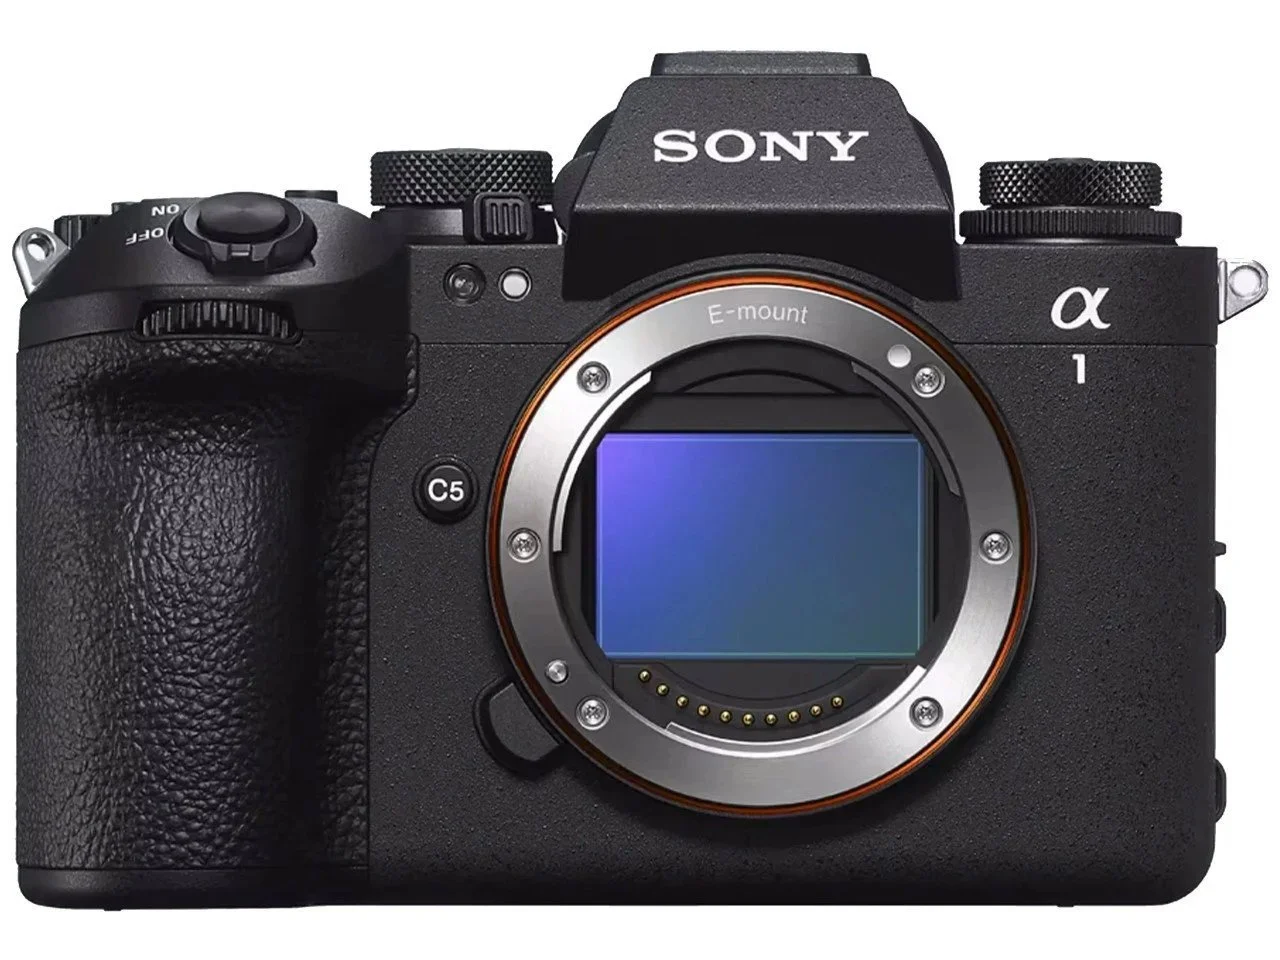
Camera Body: Sony A1
Since I shoot both photo and video, the Sony A1 is irreplaceable for me.
It’s fast, reliable, and versatile enough to handle everything from action shots to more cinematic moments—I always carry a second camera body on my travels (Sony a7R5) but I keep that one in camp as I don’t need the extra weight on day trips
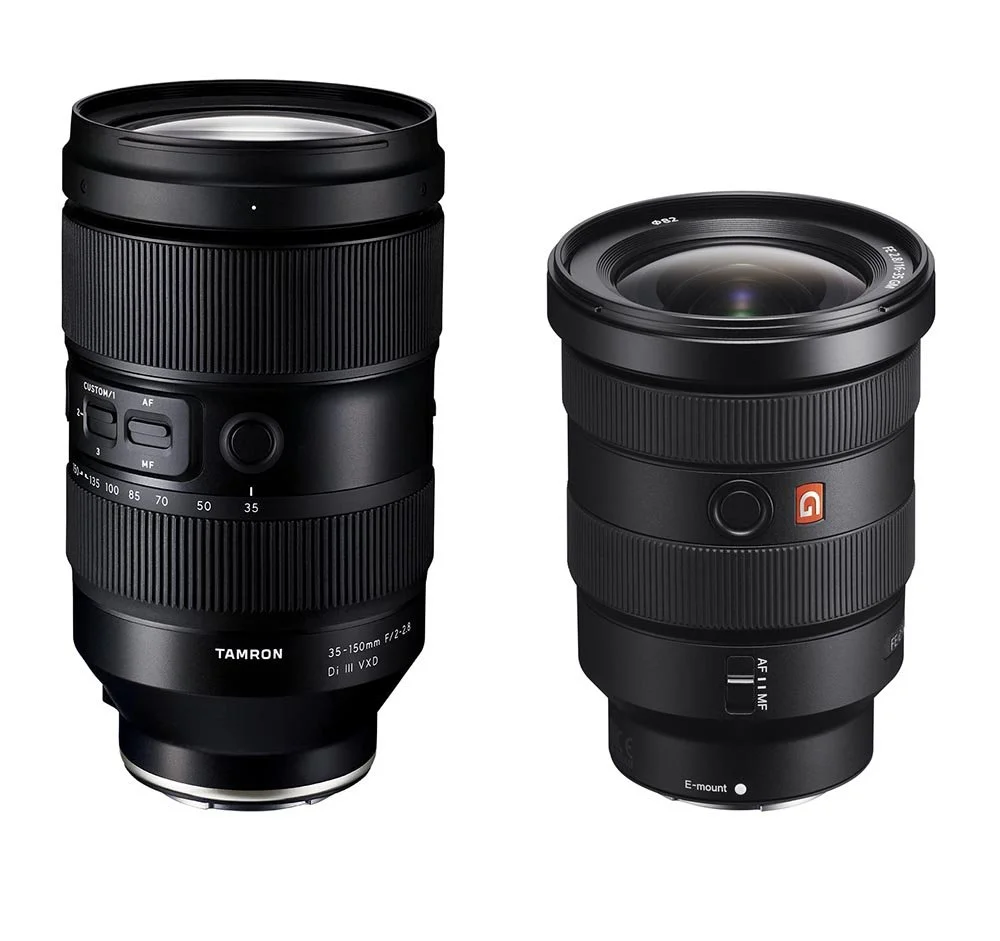
Lenses
I keep this as minimal as possible.
Tamron 35–150mm – this is my main lens and covers almost everything I need
Sony 16–35mm – for wide-angle shots and capturing the scale of the landscape
Over time, I’ve realized I don’t need more than this. The weight tradeoff just isn’t worth it.
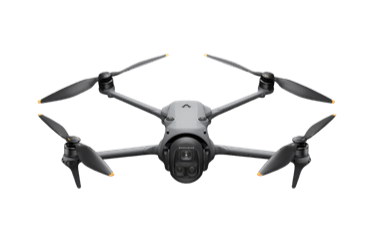
Drone: Mavic 4 PRO
I don’t go anywhere without a drone these days.
The Mavic 4 is bigger than its predecessors, but the image quality is unmatched. It adds a completely different perspective to storytelling—especially in big mountain environments.
I have a neck strap for the controller so I can let the drone hover to either take photos with the camera or just warm up my hands.
In reality I only bring one extra battery since I will never get a chance to fly for over an hour.

Action camera: Insta360
I also carry an Insta360, which has become one of my favorite tools for capturing movement and behind-the-scenes moments.
Most of the time, I don’t even think about it—I just leave it attached to my backpack. It ends up capturing everything:
me shooting
people skiing past
transitions while touring
It’s a really effortless way to document the experience without stopping or pulling out another camera.
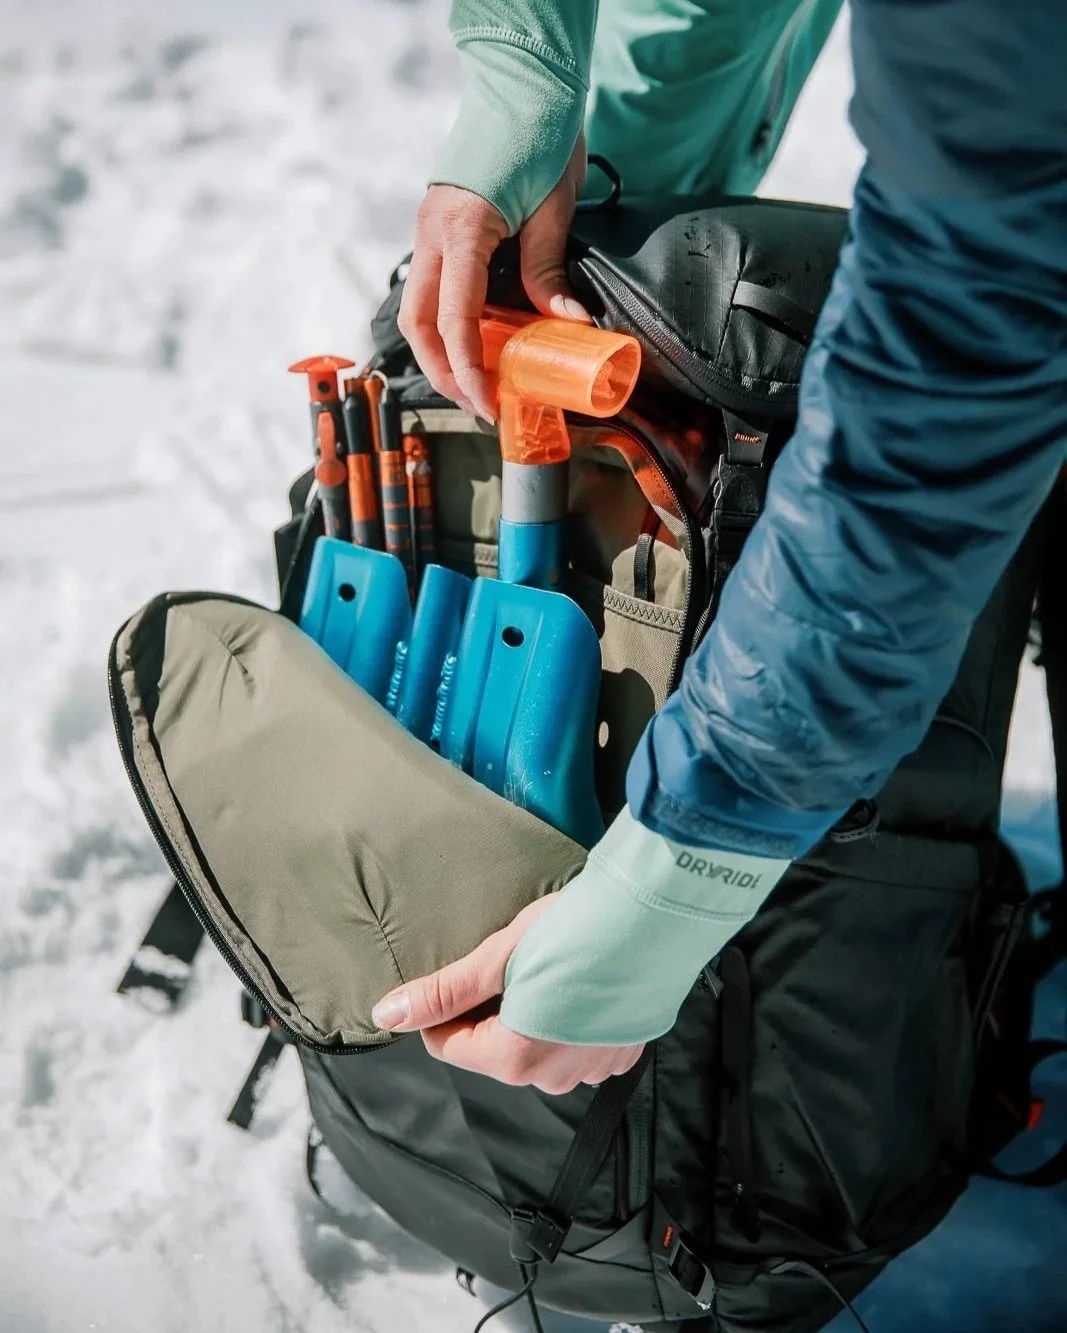
Avalanche Gear & Accessories
Beacon (worn on my body)
Probe + shovel (in front compartment in my pack)
Power & Tech
Extra batteries (in extreme cold I keep these on my body to prevent draining)
ND filters (I use variable or magnetic for quick switching between photo and video)
Minimal cleaning gear: puffer, lens cleaning cloth
Extras
Dry bag (essential on snowy days or in places like Antarctica when riding in zodiacs)
Multitool (for both camera gear and my splitboard)
Ski straps: There are so many different uses for them and you can never have too many ski straps. I’ve used them to tighten my snowboard boot when the laces broke, and to attach the skin to the ski when it was too cold and glue wouldn’t stick.
Backcountry Essentials
This is where ski expedition photography differs from everything else.
Extra gloves (light + warm)
Goggles + sunglasses
Sunscreen
Hat
Skins
Water + snacks (I keep smaller snacks in my pants pockets to additionally reduce the weight off my back. My backpack has convenient front shoulder pockets for this as well)
Helmet
Basic first aid kit - usually these essentials are split between group members
Hand warmers. I don’t go anywhere without hand warmers.
How Much My Kit Weighs
My pack typically weighs between 20–30 lbs.
That might not sound like much, but when you’re climbing thousands of feet in a day, it adds up quickly.
One of the biggest things that’s helped me manage this is strength training—building up my back and shoulders so I can carry the load more efficiently.
And honestly, this is something I think about a lot. It’s often easier for men to carry heavier loads in the mountains, but we need more women out there doing this work. If anything, I hope sharing this helps show that it’s possible.
What I Don’t Bring Anymore
Extra Lenses
It’s tempting to bring more options, but I’ve learned that I always come back to the same core setup.
Everything else is nice to have—but not necessary.
That said, on trips like Antarctica, I’ll sometimes leave a Sony 100–400mm in a dry bag on shore. That way I can switch things up and capture wildlife like penguins once I’m done touring.
Tripod
There’s just no space—or time—for it.
Ski touring is constant movement, and everything I shoot is handheld. It’s faster, more flexible, and fits the pace of the environment.
A Moment That Shaped This Kit
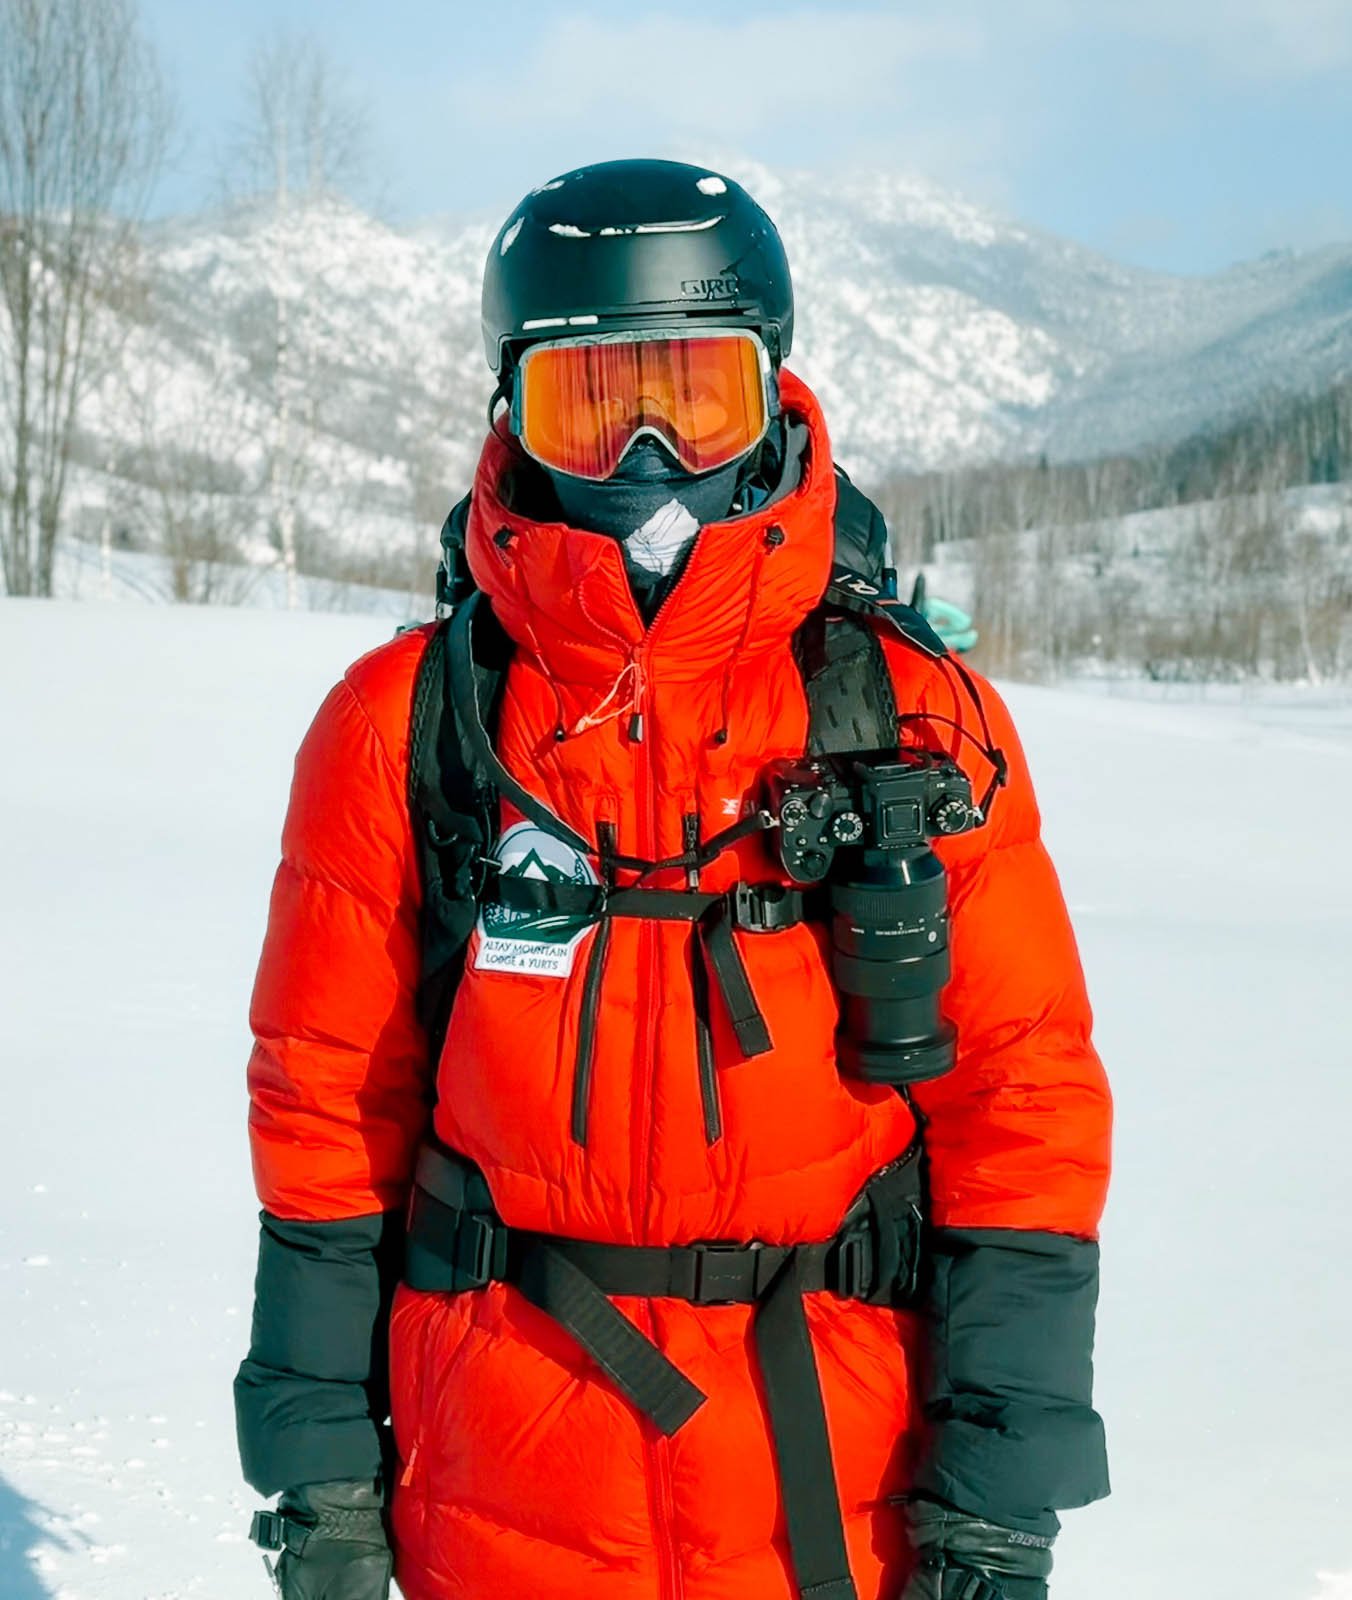
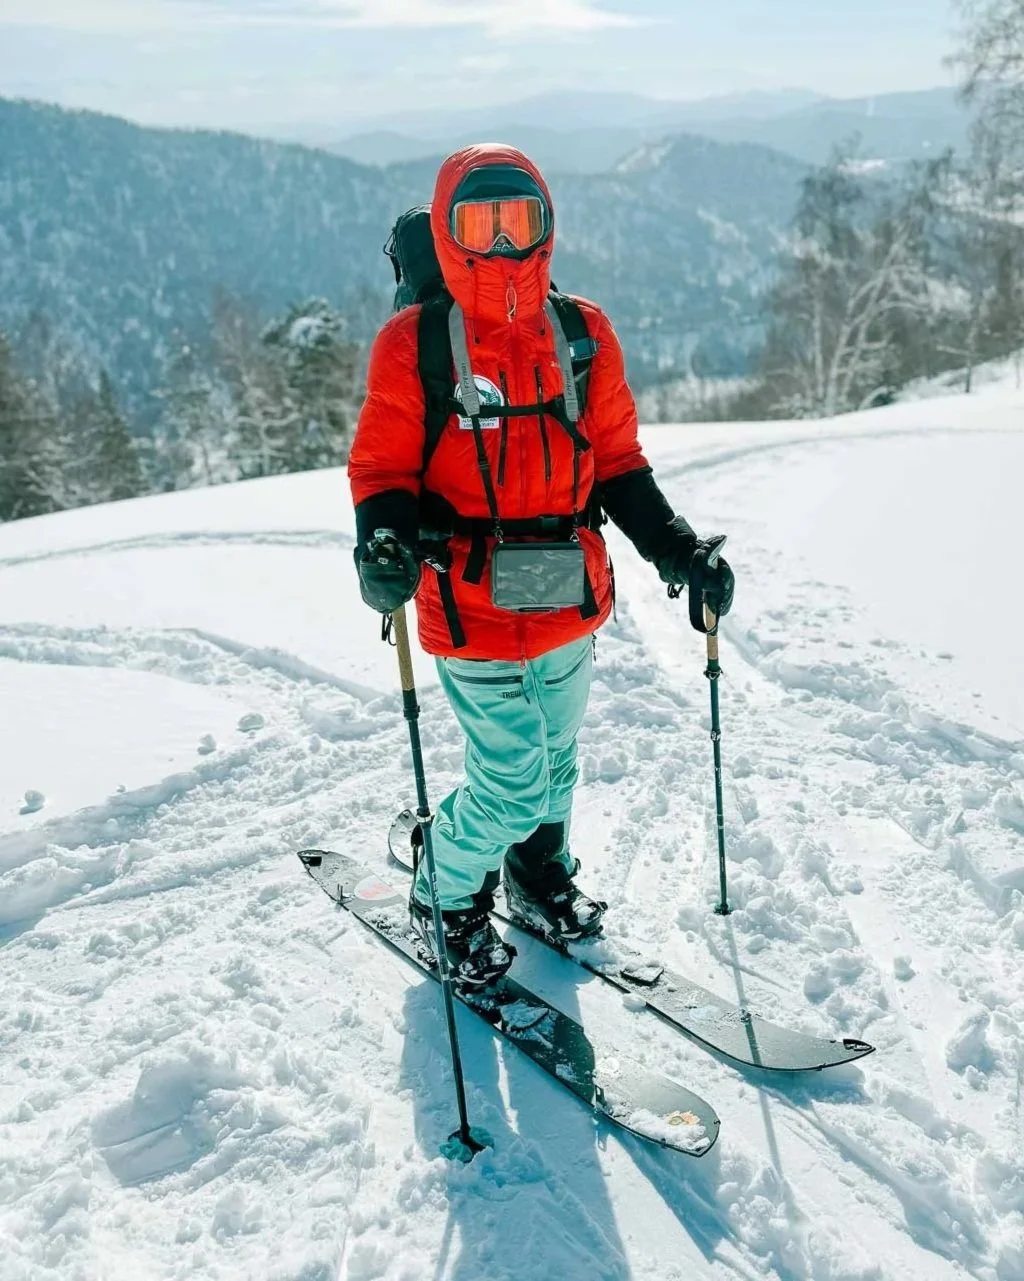
In Kazakhstan, we had a stretch where temperatures dropped to -40°C.
I was wearing four jackets—including a massive expedition puffy. On the uphill, that meant constantly shedding layers, stuffing them into my pack, and managing space carefully.
That’s when I really appreciated having a backpack that could expand and adapt. In those conditions, your gear setup isn’t just about photography—it’s about survival and efficiency.
My Approach
I’ve learned to keep things simple.
Travel light. Bring only what you need. Let your experience—not your gear—do the work.
Because at the end of the day, the goal isn’t to carry the most equipment.
It’s to be able to move through the mountains freely—and still come back with images that tell the story.

Skiers ascending a glacier in Antarctica
Explore More
If you’re curious to see the kind of work this setup helps create, you can explore my latest fine art prints here:
👉 https://www.tamarasusa.com/prints
Questions or something to add?
Let’s keep the conversation going on my Instagram!
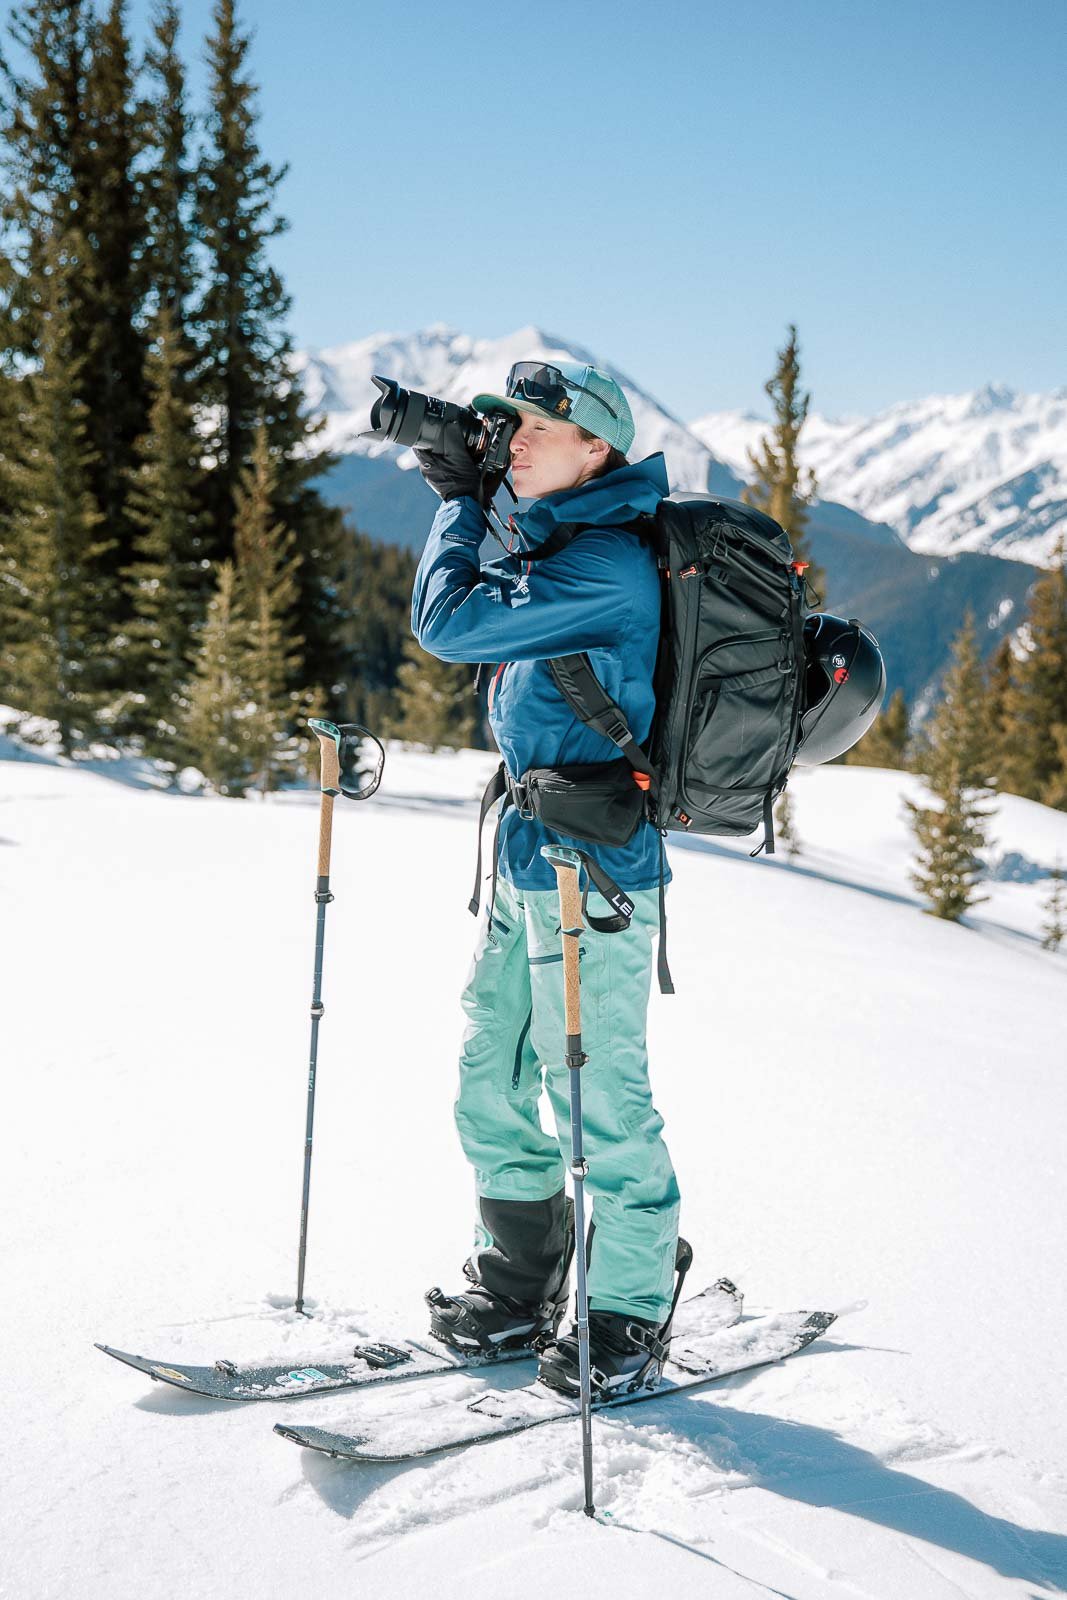
Photos of me by Sam Axness